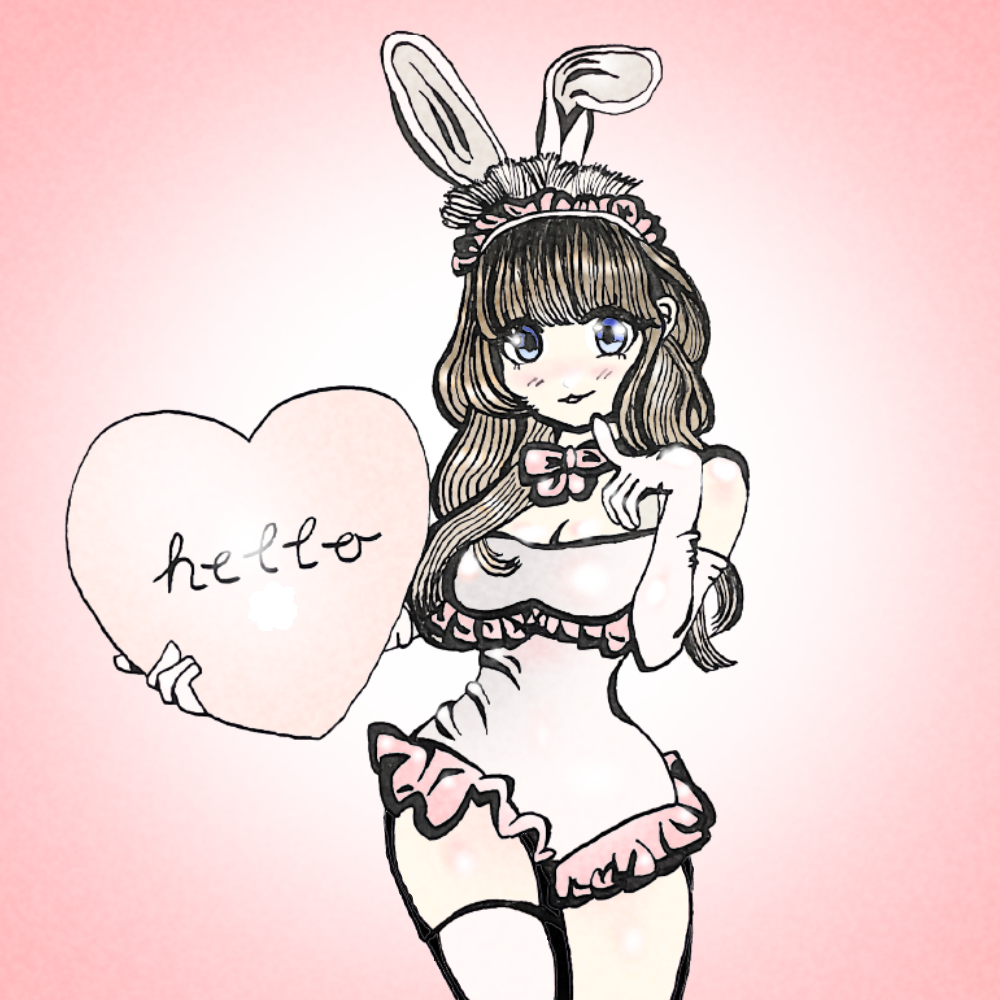
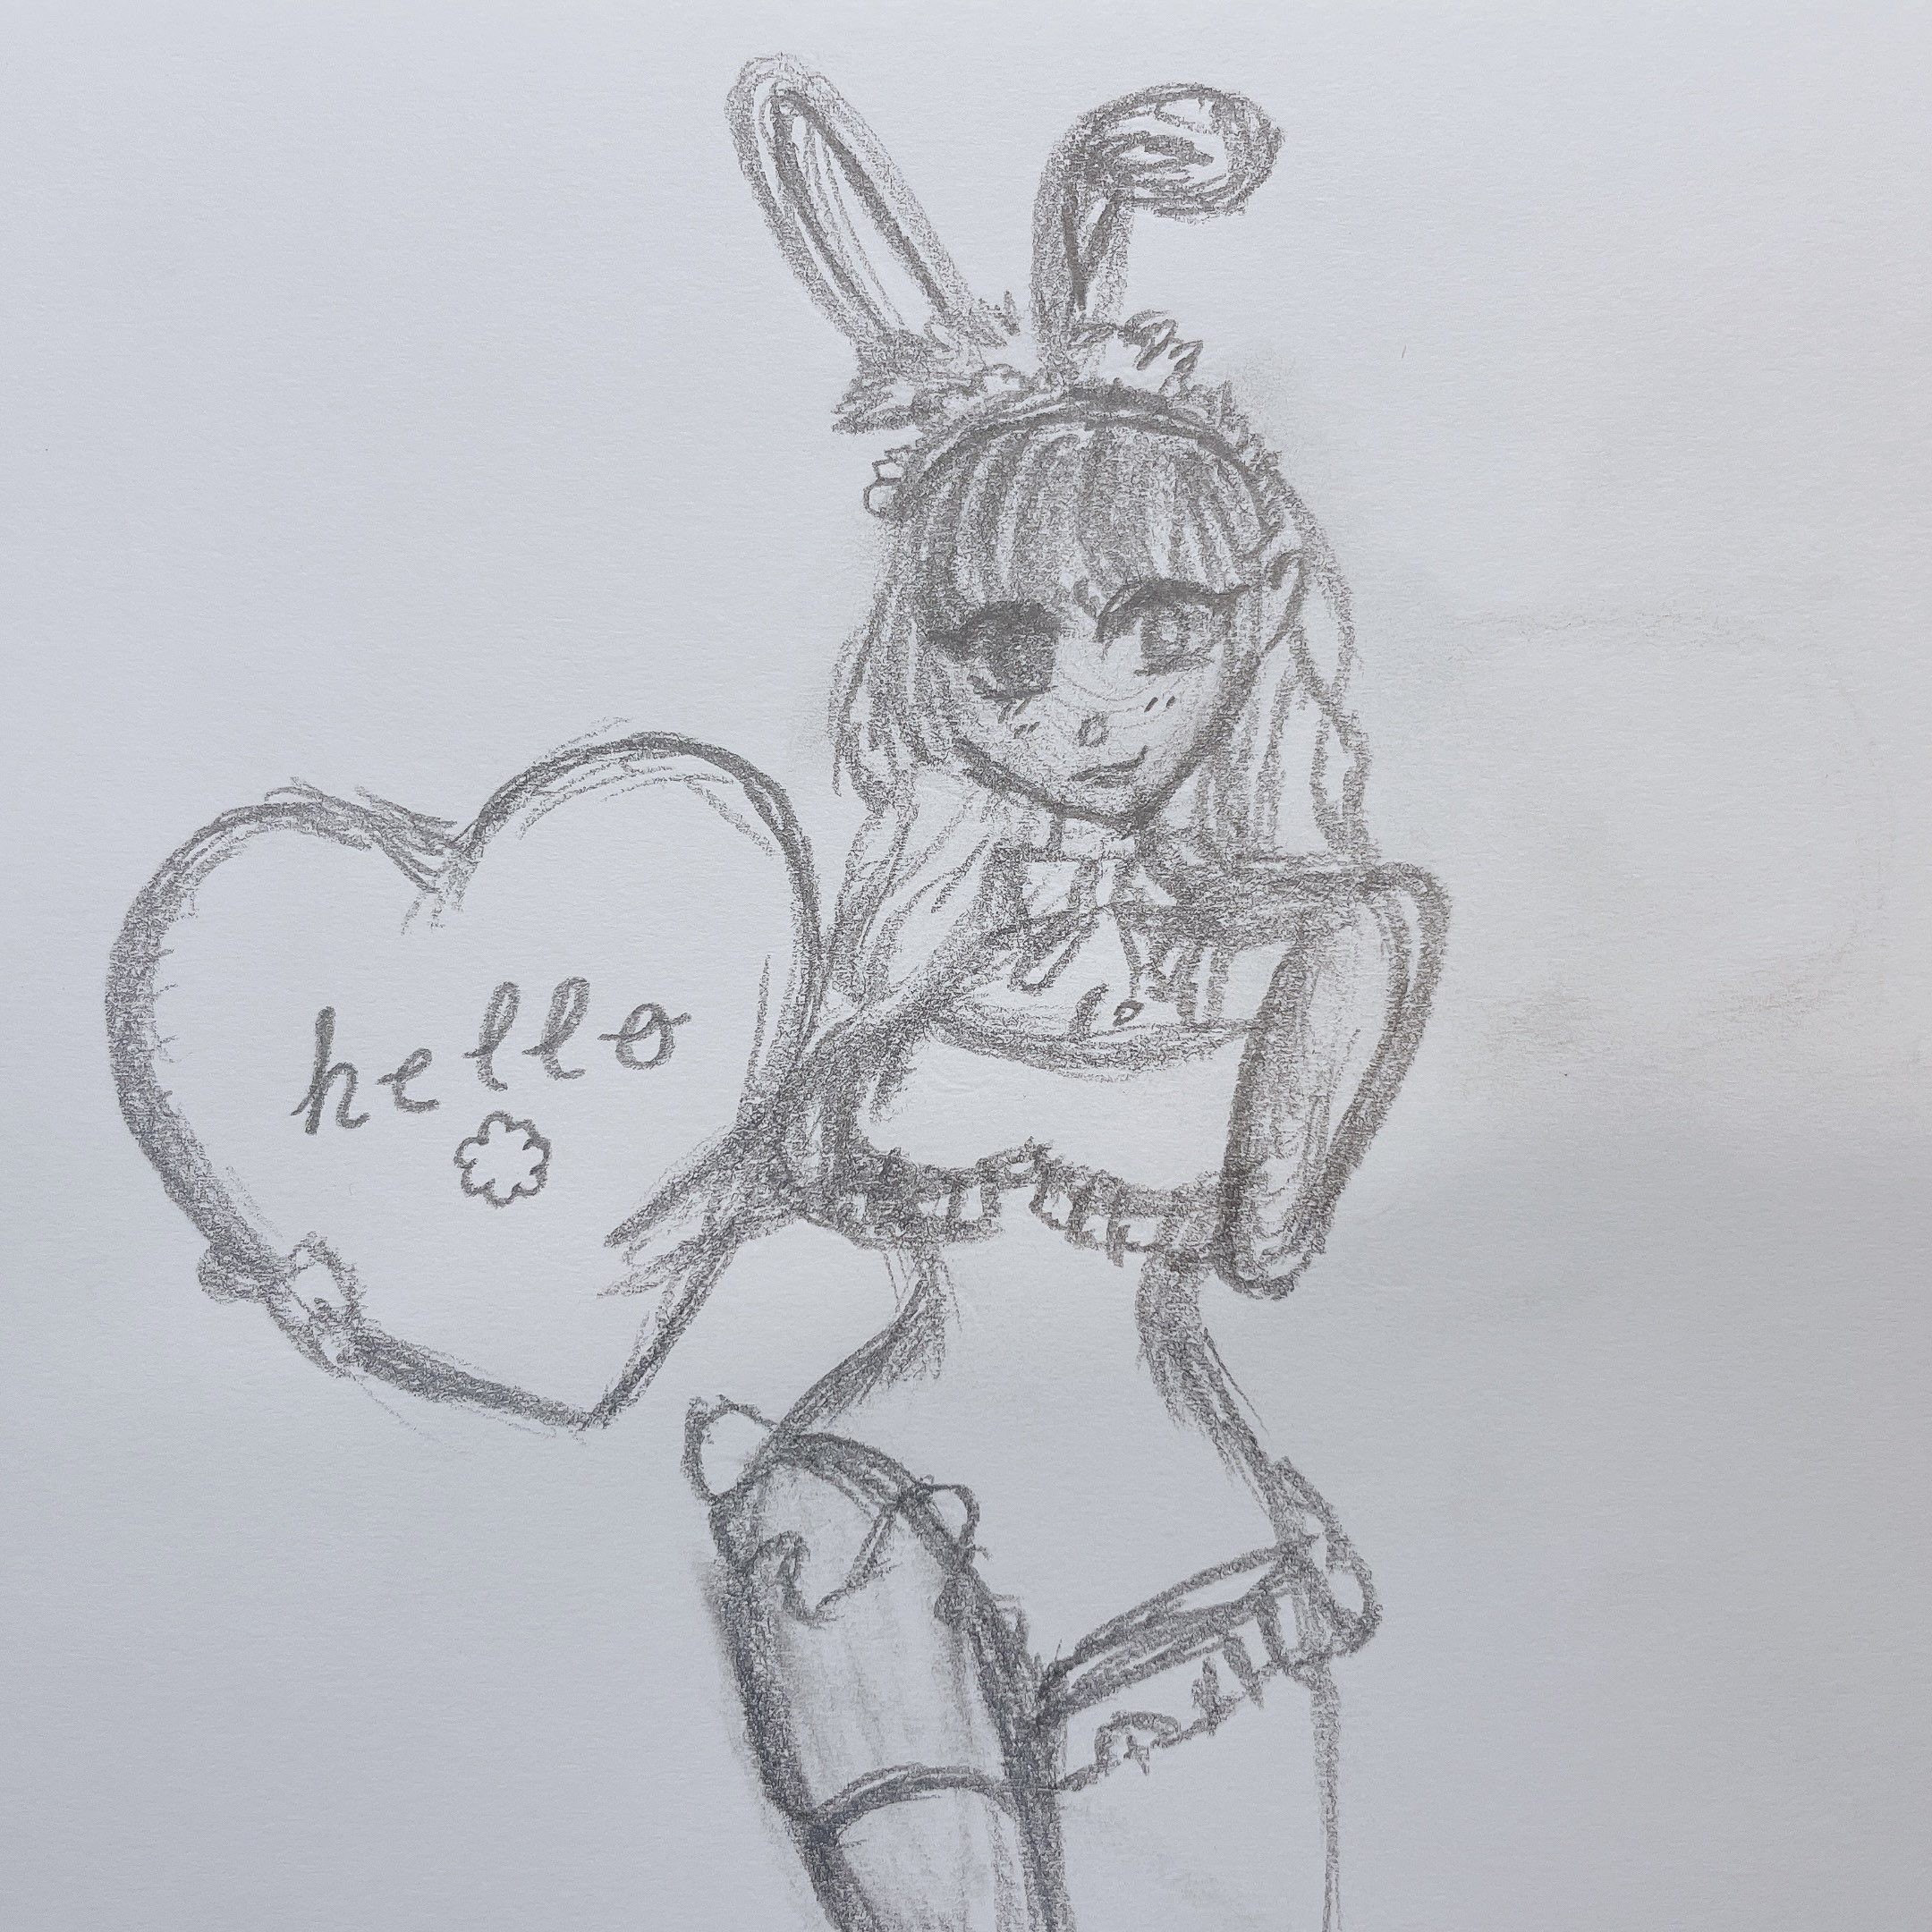
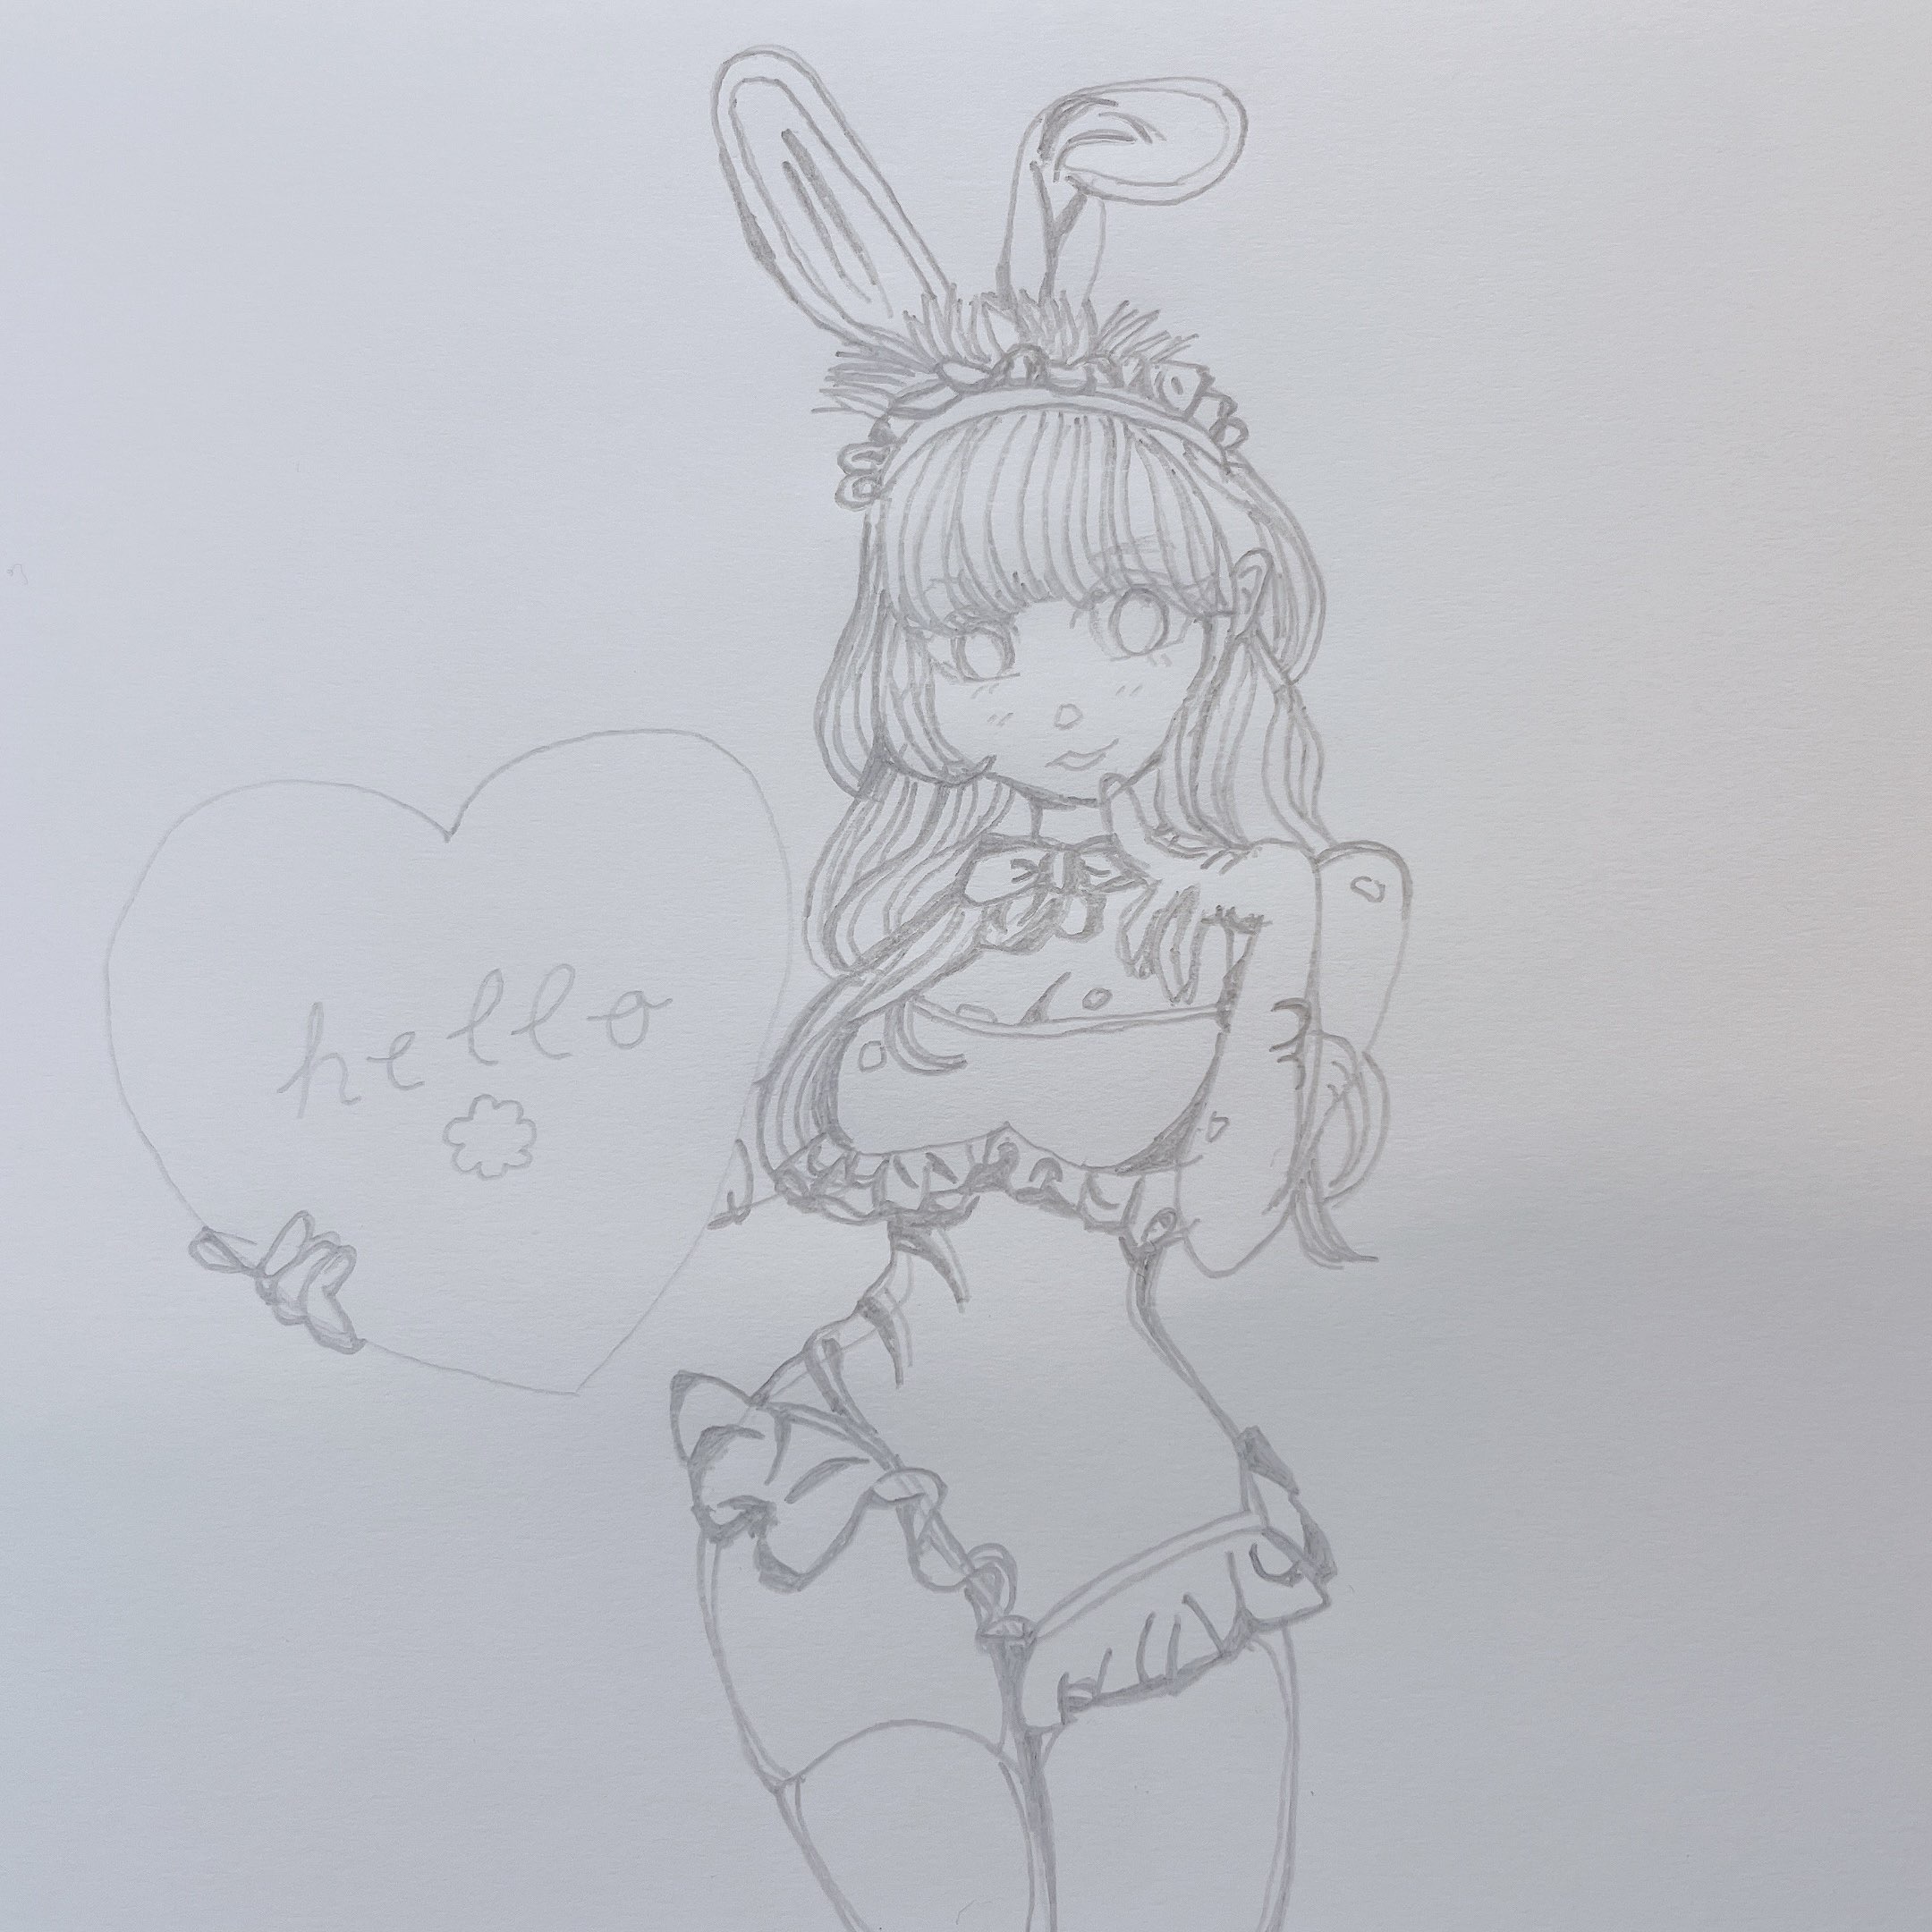
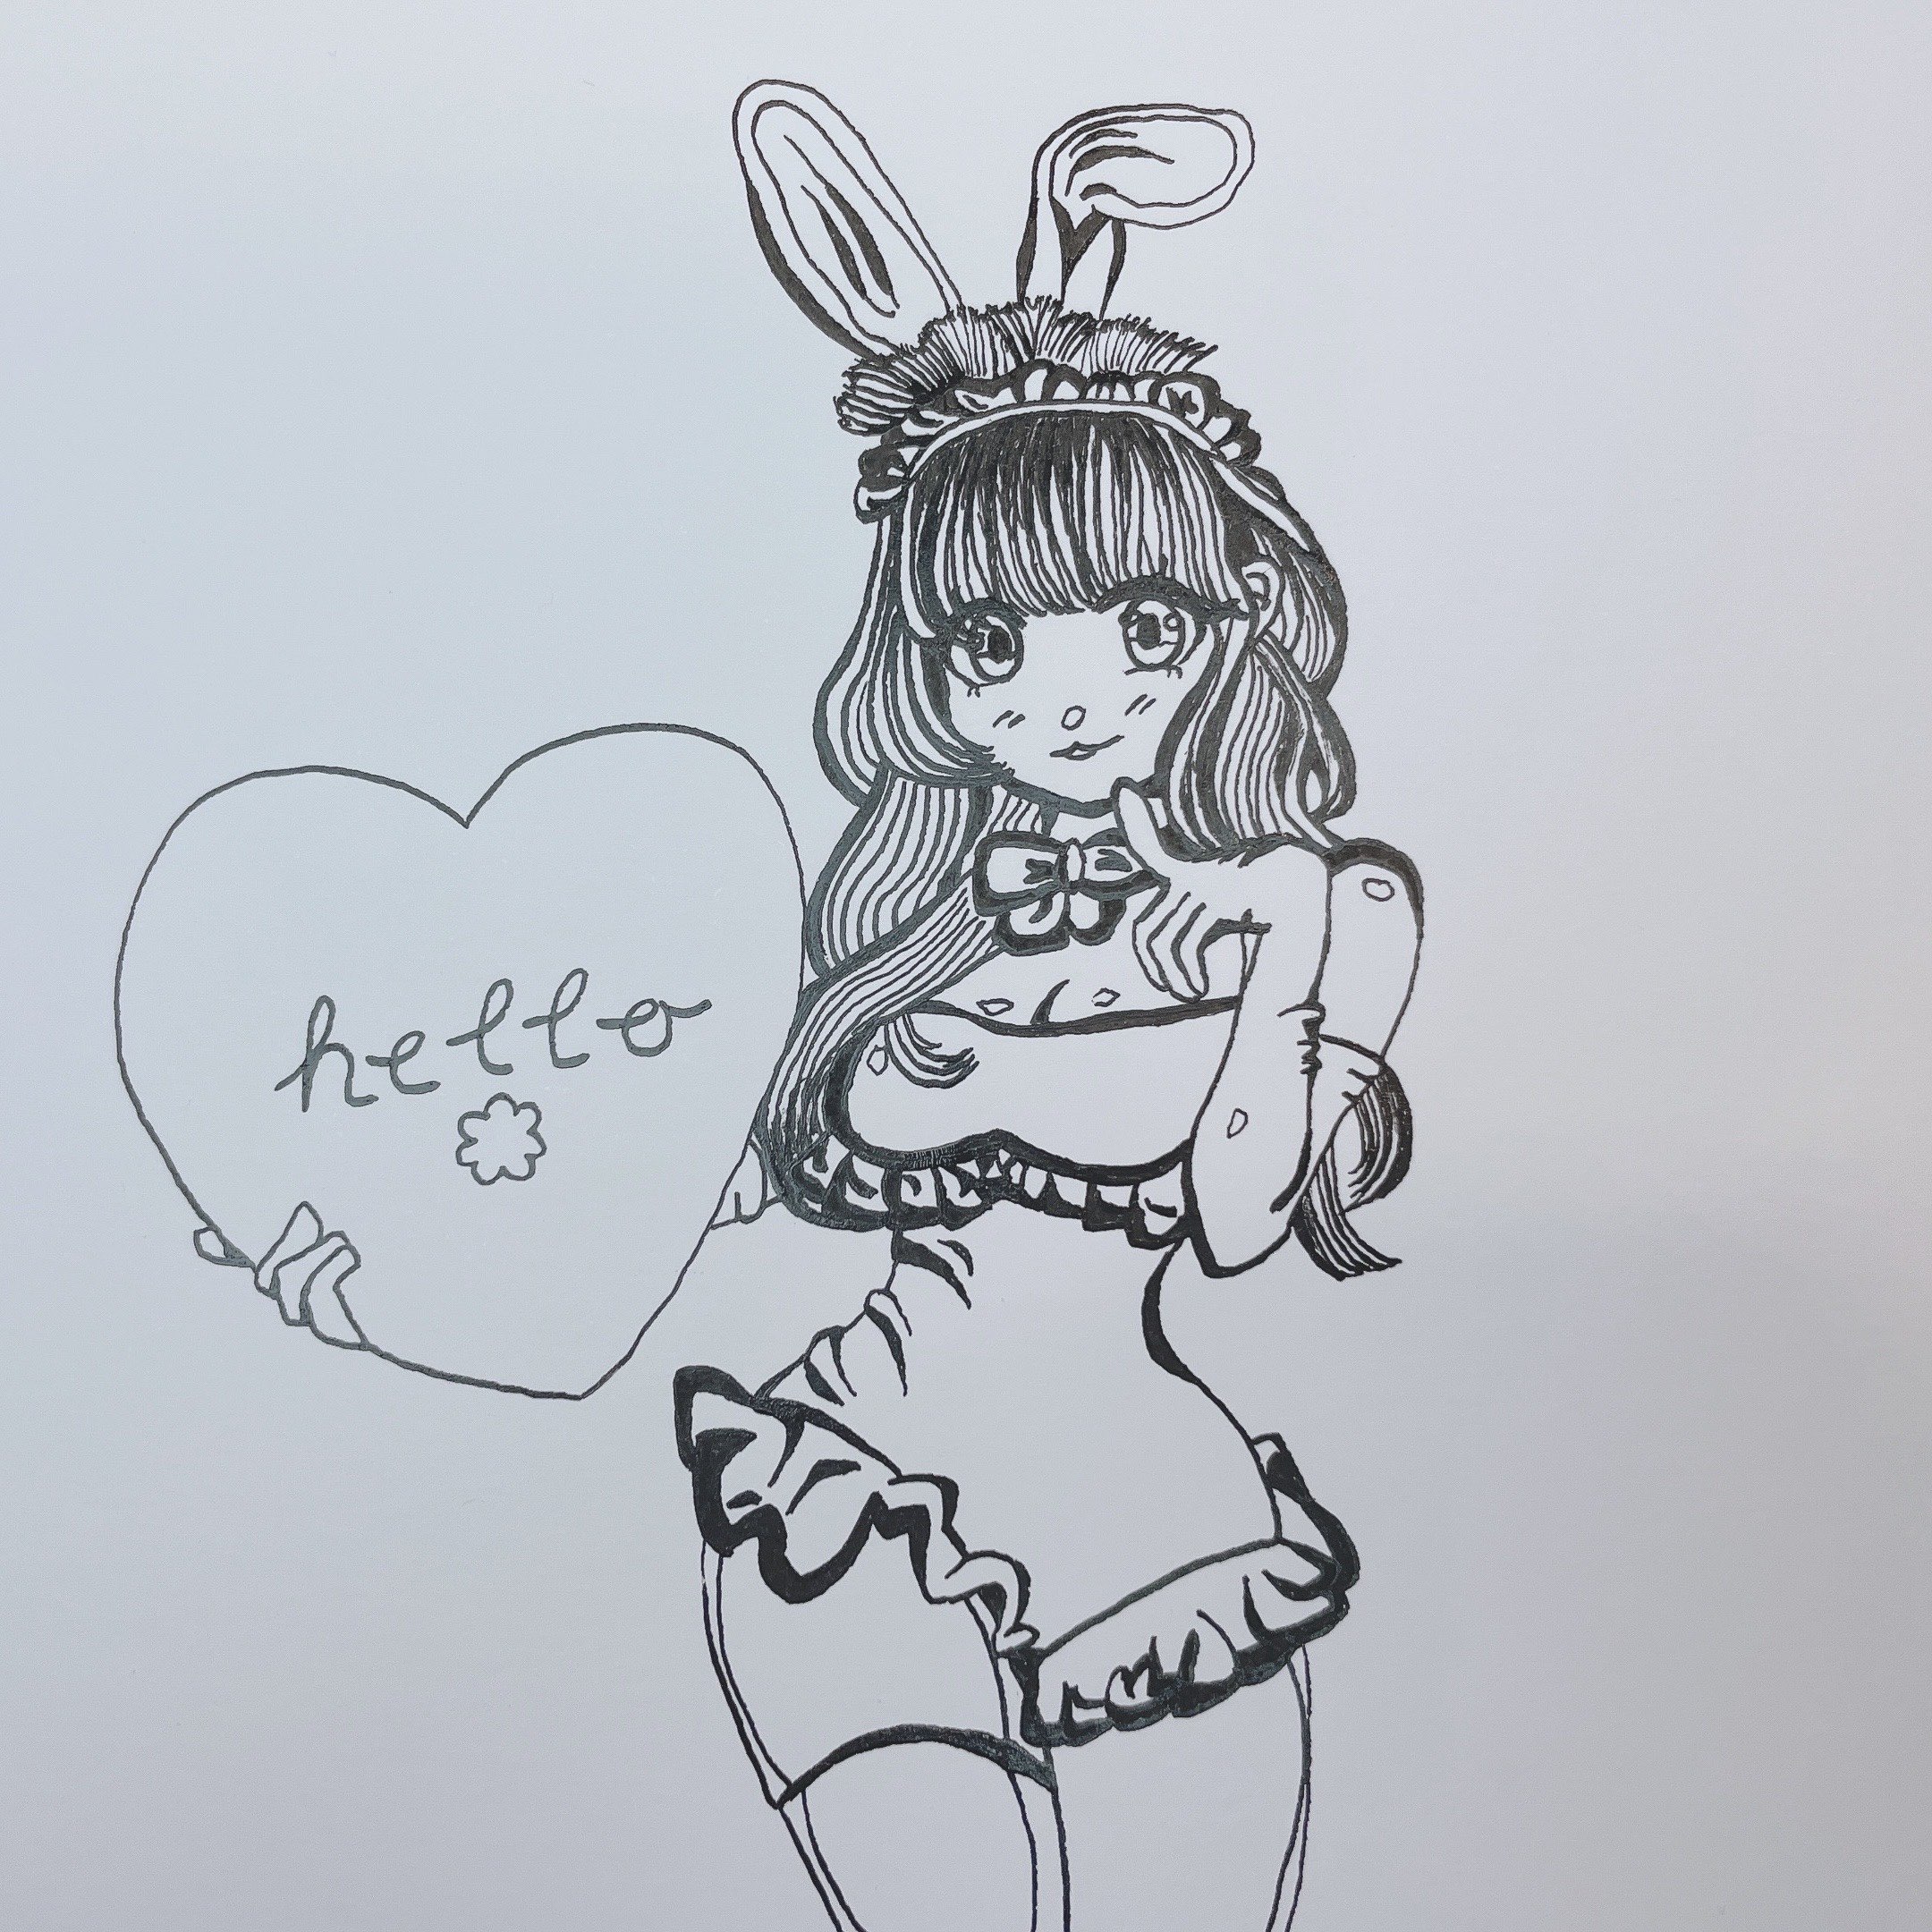
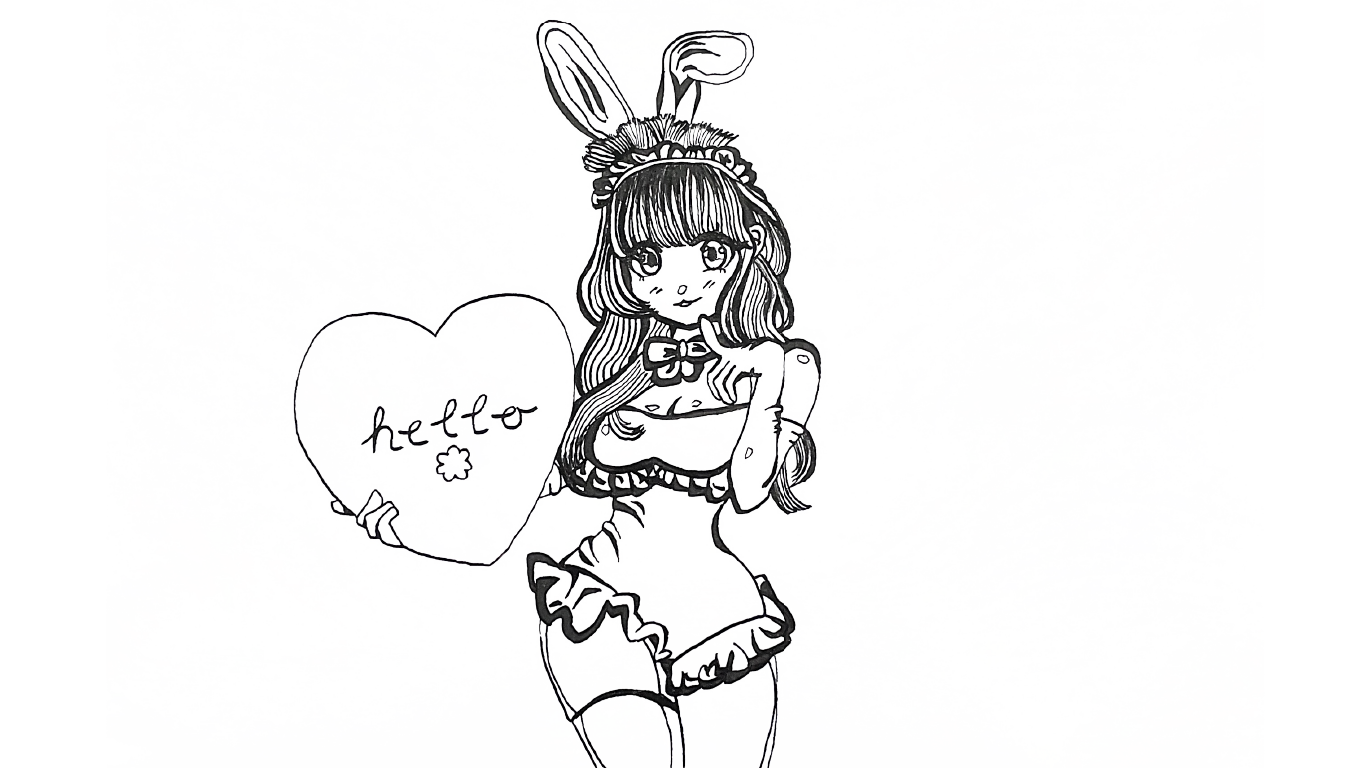
Illustrating a bunny girl
Traditional ink meets digital color!
૮꒰˶ᵔ ᗜ ᵔ˶꒱ა˖⁺‧₊˚
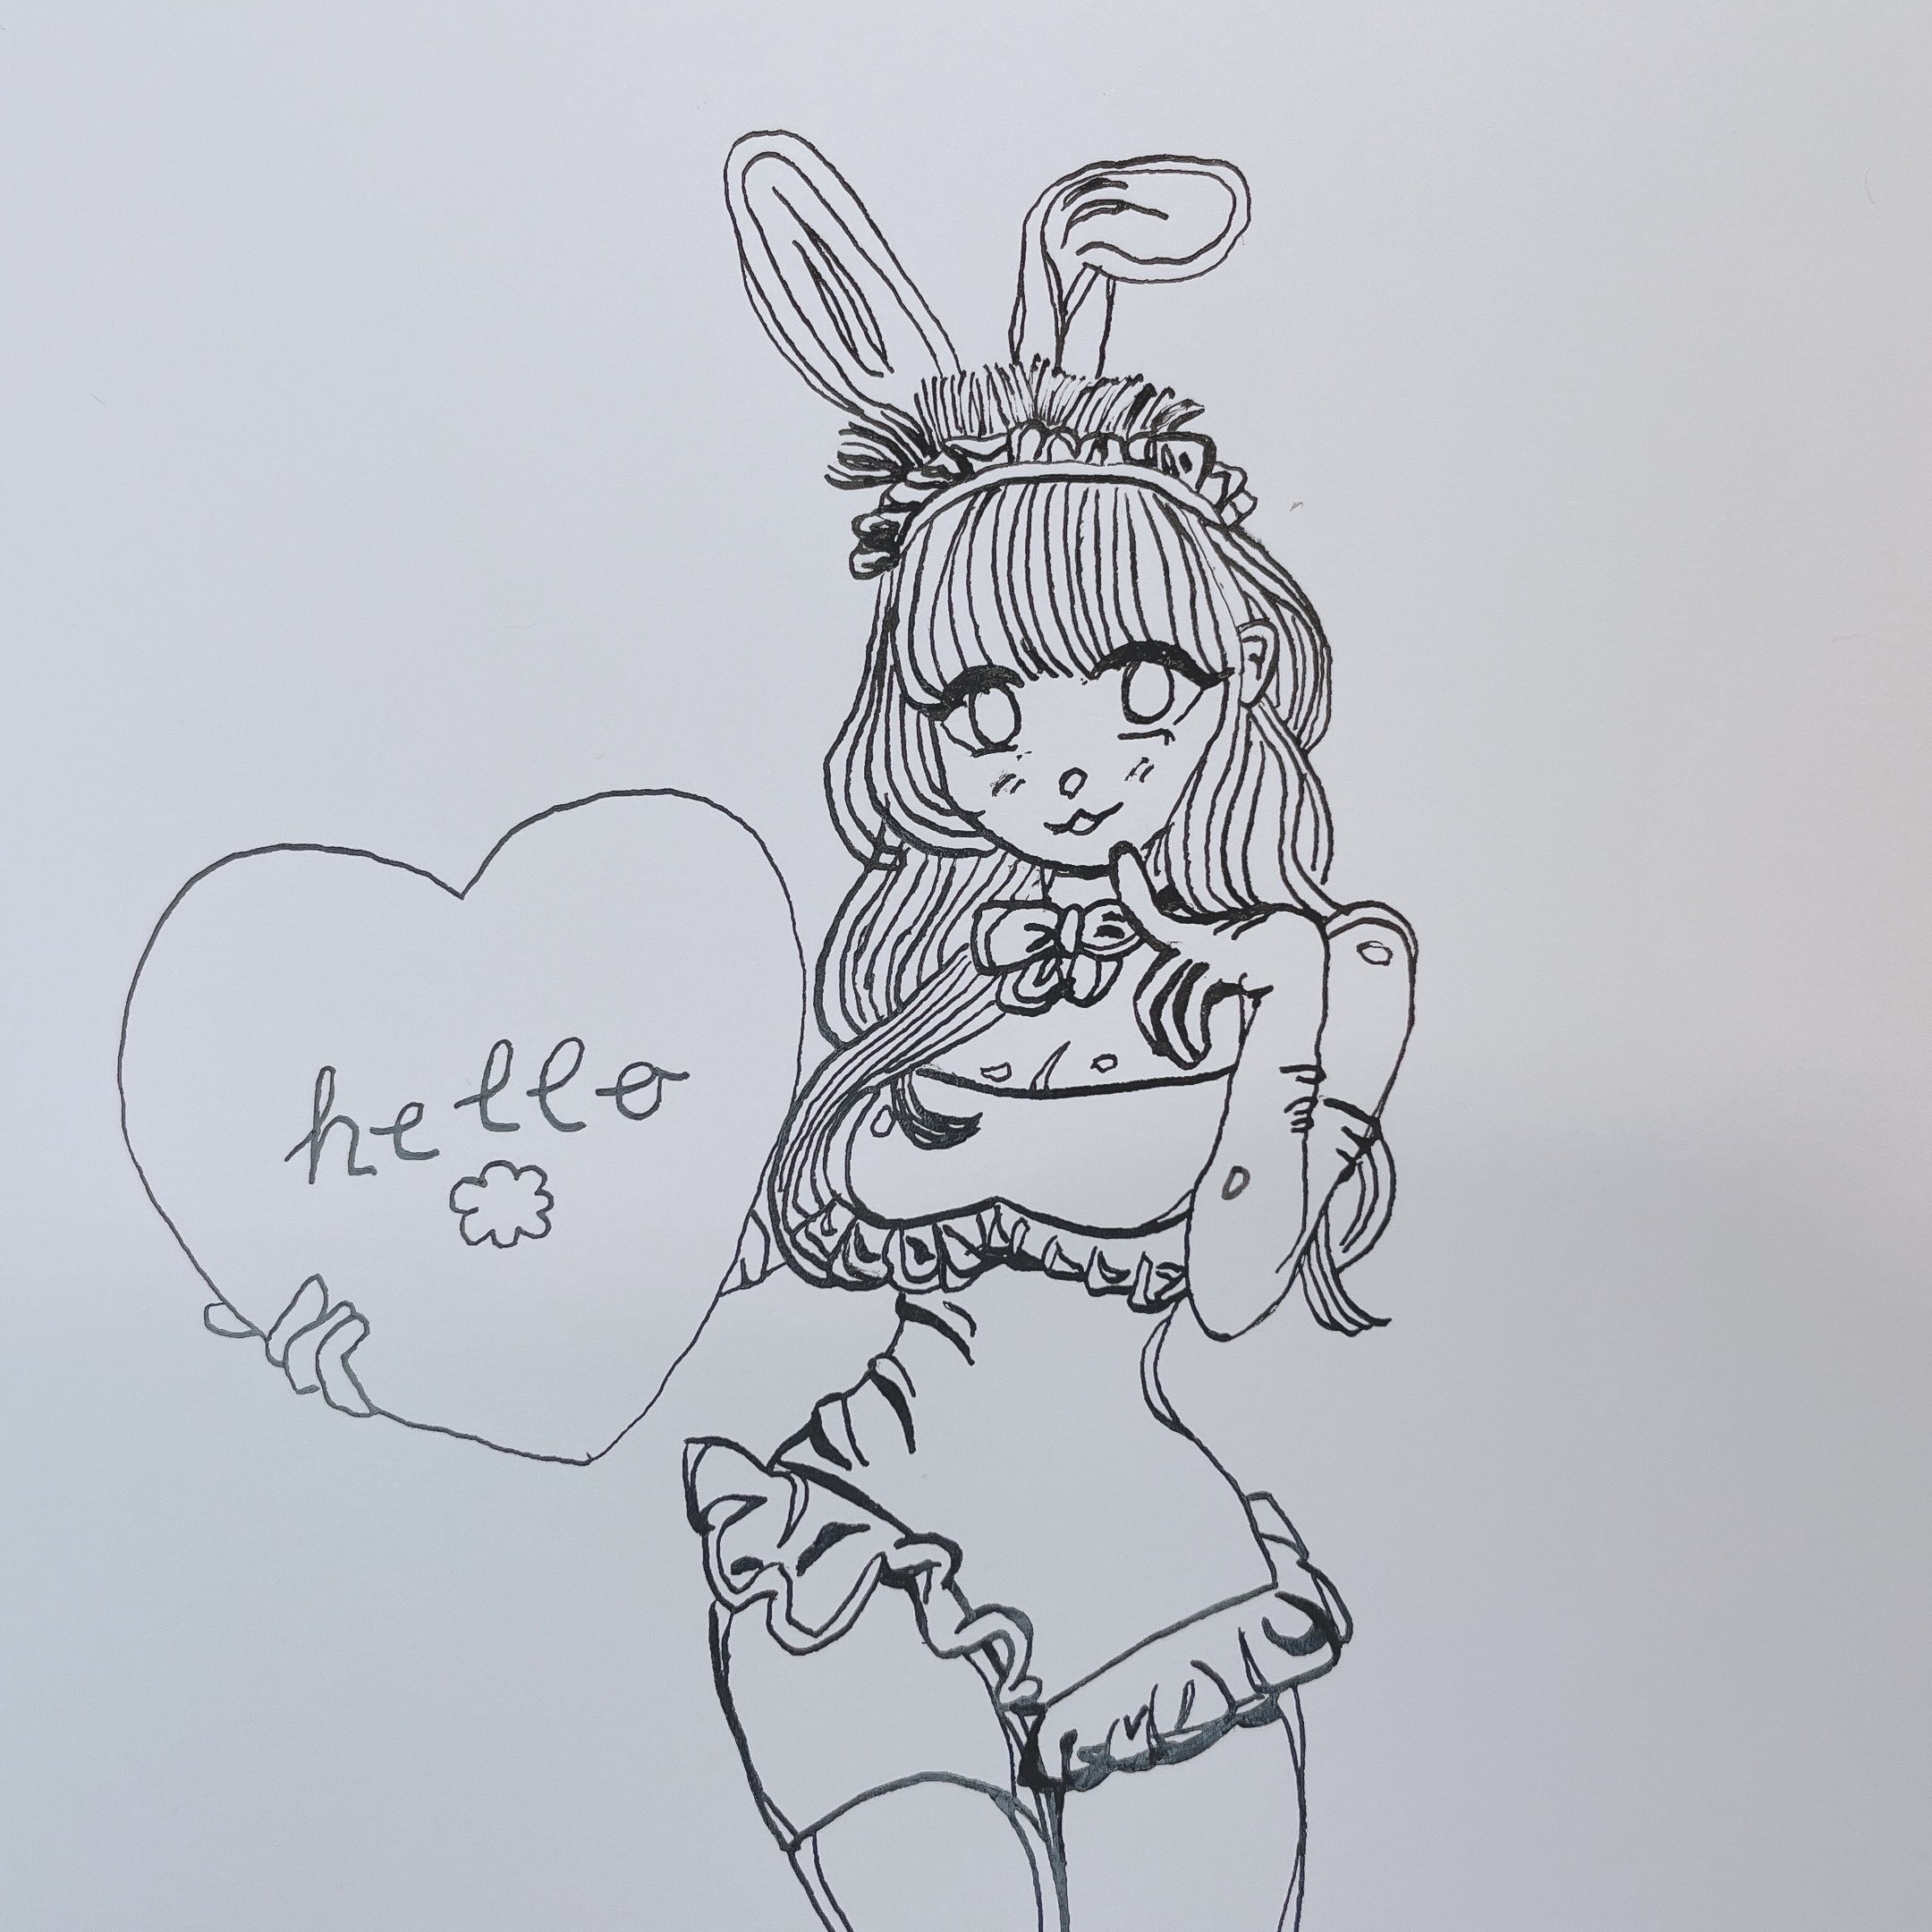
I used a dip pen, the "old school" tool of mangaka, for the illustration's lines. Dip pens have largely fallen out of popularity due to the rise of digital art programs like Clip Studio Paint, where lining has become a lot more convenient. Drawing digitally, a simple CTRL + Z can undo a stray line. However, dip pens are hardly as forgiving, especially since they use wet ink that is prone to smearing. This is my first time trying out the dip pen, so I learned some unexpected things that I can share with you.
TIP #1! Know what pen nibs you need (and the nib holders that go with them)! It seenms like a common mistake that most first-time dip pen users make is buying the wrong tools. For example, I bought both G and maru (mapping) nibs, but I only bought a nib holder that could carry standard nibs like the G nibs (and not the maru nibs). The result is that when I was ready to line, I found out I could only use the G nibs. I would've loved to be able to use the maru nibs for finer details like the hair and eyes. (◞‸◟;)
TIP #2! Consider making paper "layers!" Basically, this would be to offset any accidents that happen while lining. This could also lead to a more ideal result. The idea is that you could create the complete lineart, but then trace and redo any elements you're not satisfied with. Then, you could cut and paste these separate scanned sets in a digital art program as layers. This would give you more convenience when lining and allow you to edit later. By splitting pieces up in layers, you could also get creative with line colors and other things. I'm planning on trying this approach for my next project so stay tuned!
TIP #3! Keep in mind what you want to appear in the final illustration! Not everything that “looks good” in a black and white drawing translates well to colored final illustration. For example, you can see in the initial lining process I drew some “light spots” on the body to visualize where light might glitter the brightest. In a black and white illustration, this may look eye-catching, but when coloring it created some odd issues. These “light spots” looked strange with black outlines, so I ended up erasing them completely and digitally painting over them with white. This isn’t a huge issue, but it may prove more efficient to leave these extra details that you intend to color separately out until you render the illustration digitally.
TIP #4! Consider using crosshatching methods for dark shadows! You can see in the lineart I left some “shadow” areas on the legs white. I intended to import crosshatching effects from Clip Studio Assets into that space, but then ran into some issues. I ended up just filling black into those areas. If you’re going for that traditional manga look that you can achieve using dip pen, I’d recommend thinking about crosshatching some areas like this to add depth and interest. You could also consider using screen tones for a different aesthetic. Based on my tricky experience trying to emulate this look using assets I bought online, I’d highly recommend learning how to produce that effect yourself using the dip pen. That way, you have more control over the results.
TIP #5! Be careful with the face! (人・ω・) I found out pretty quickly that the face was the easiest to mess up. Consider using a maru nib for this area that applies thinly, then you can slowly add ink. It’s so easy to end up with facial features that look sloppy when you’re using dip pen; it takes practice to move with a slow and steady hand.
TIP #6! Choose where you ink first based on your dominant hand! This tip is to help prevent smears. For example, if you’re right handed, start applying ink on the top left of the page, then work your way down and over. If you’re left handed, start applying ink on the top right of the page, then work your way down and over.
I'll continue to experiment more with dip pen... I think I got some good ideas from this experimental piece!
✿ Let’s Chat! ✿
Any questions or thoughts? Feel free to share your comments below! ٩(ˊᗜˋ*)و ₊˚⊹♡
