OCT. 1, 2024
Illustrating a bunny girl
>SKETCHBOOK SECRETS
Traditional ink meets digital color!
૮꒰˶ᵔ ᗜ ᵔ˶꒱ა˖⁺‧₊˚

"Bunny Girl!" ₍⑅ᐢ..ᐢ₎ This was a study from this photo from Pinterest.
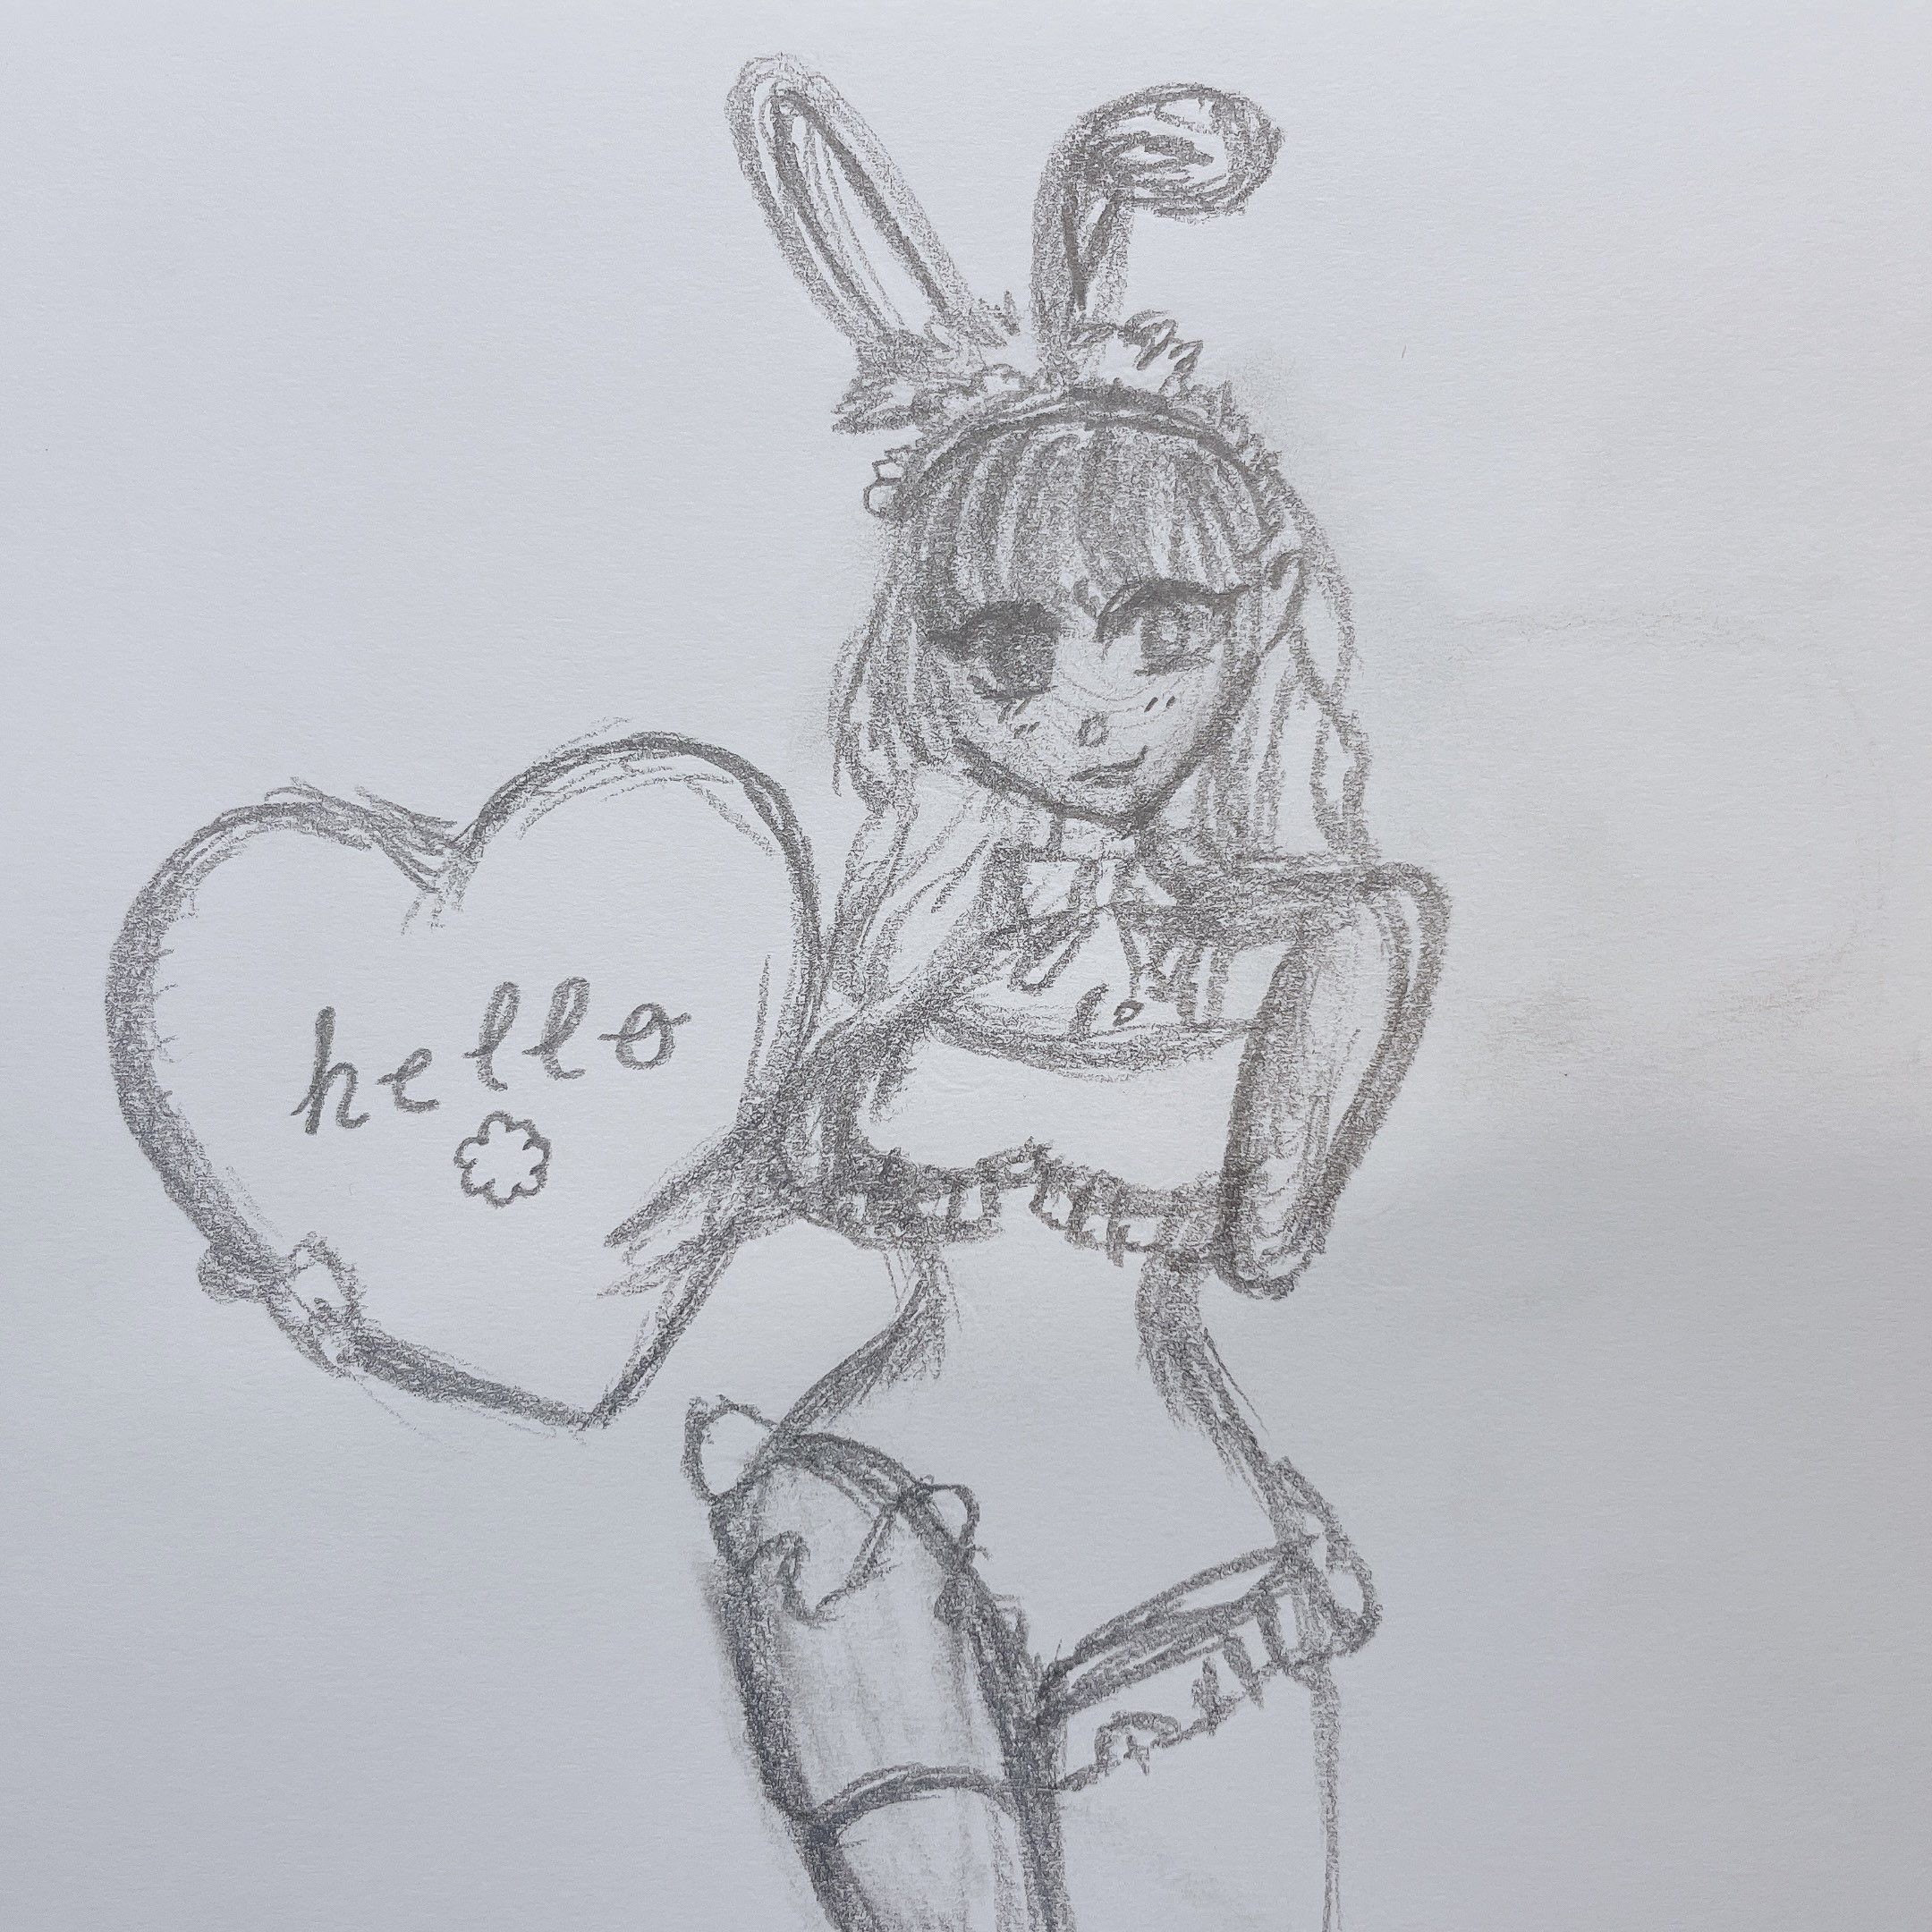
To start out, I sketched a rough using a thick pencil. Basically, the rough was used to give me a general idea of the composition (like a "thumbnail").
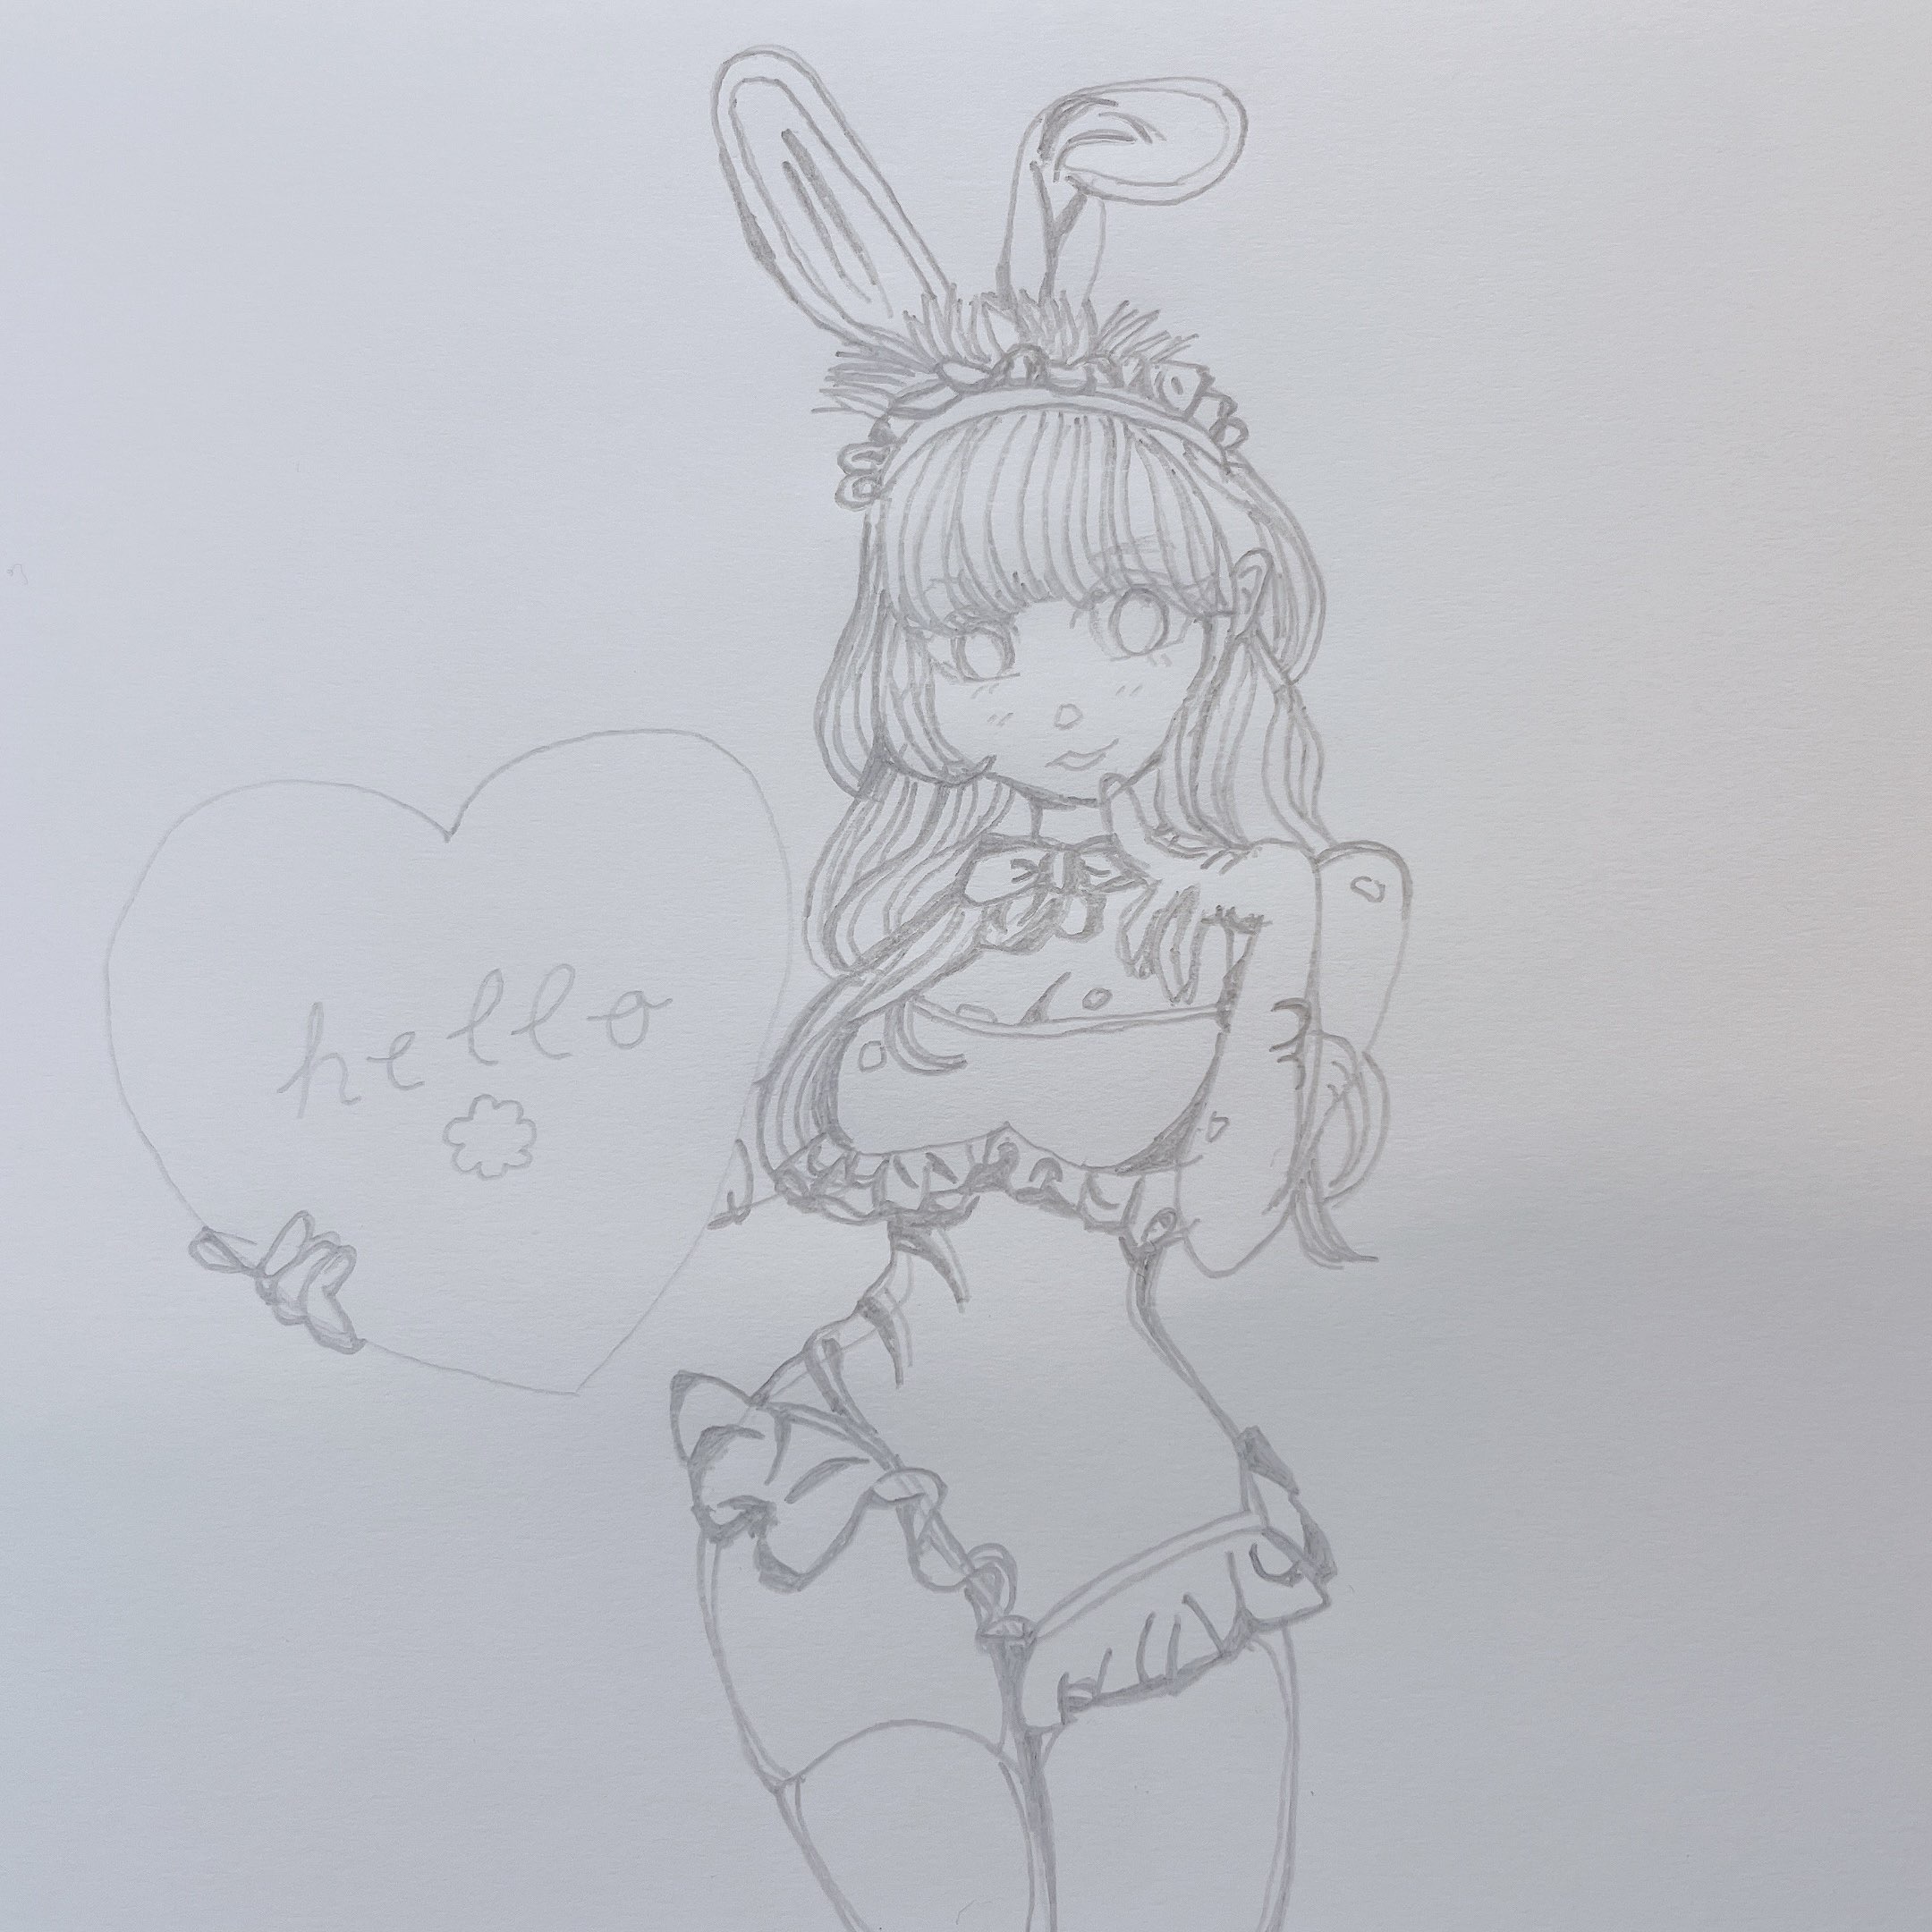
The next step was getting a more concrete idea of how I should line the drawing, so, using a lightbox, I traced thin lines using the original rough.
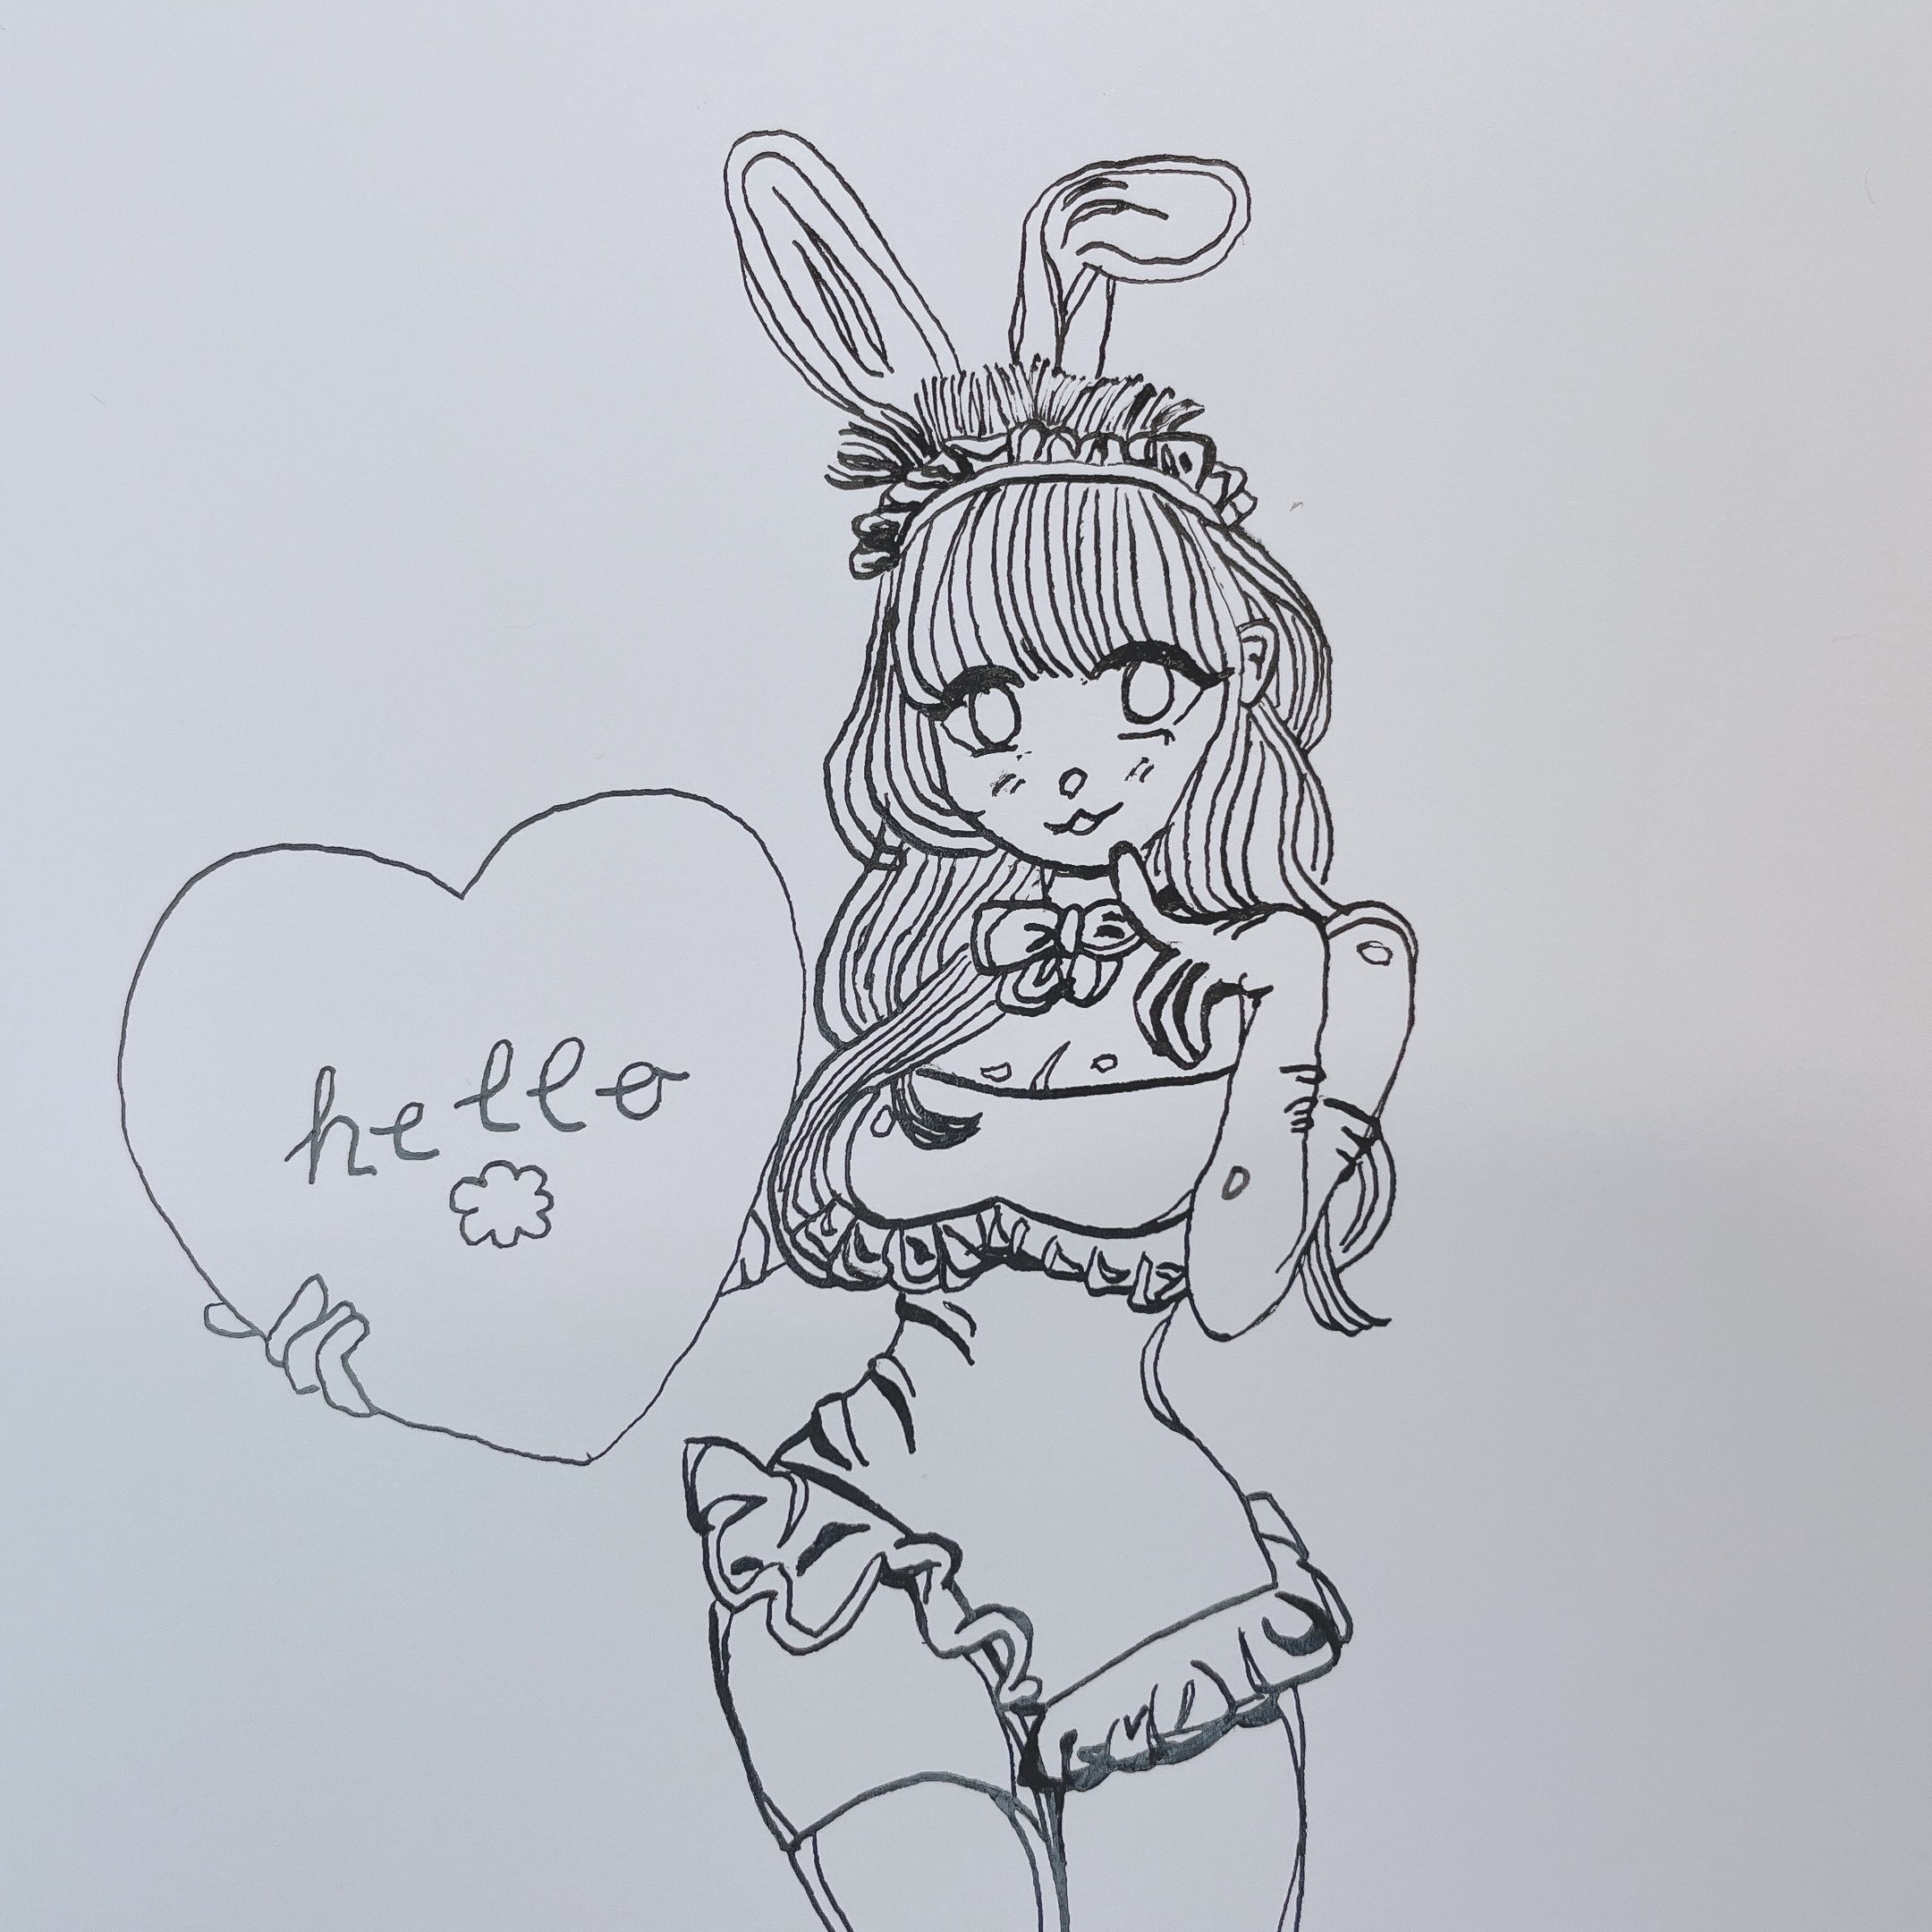
The first go with the lines gave me some good general ideas, but I wanted to clean things up even more, so I went over the last page (again using a lightbox) and added some details.
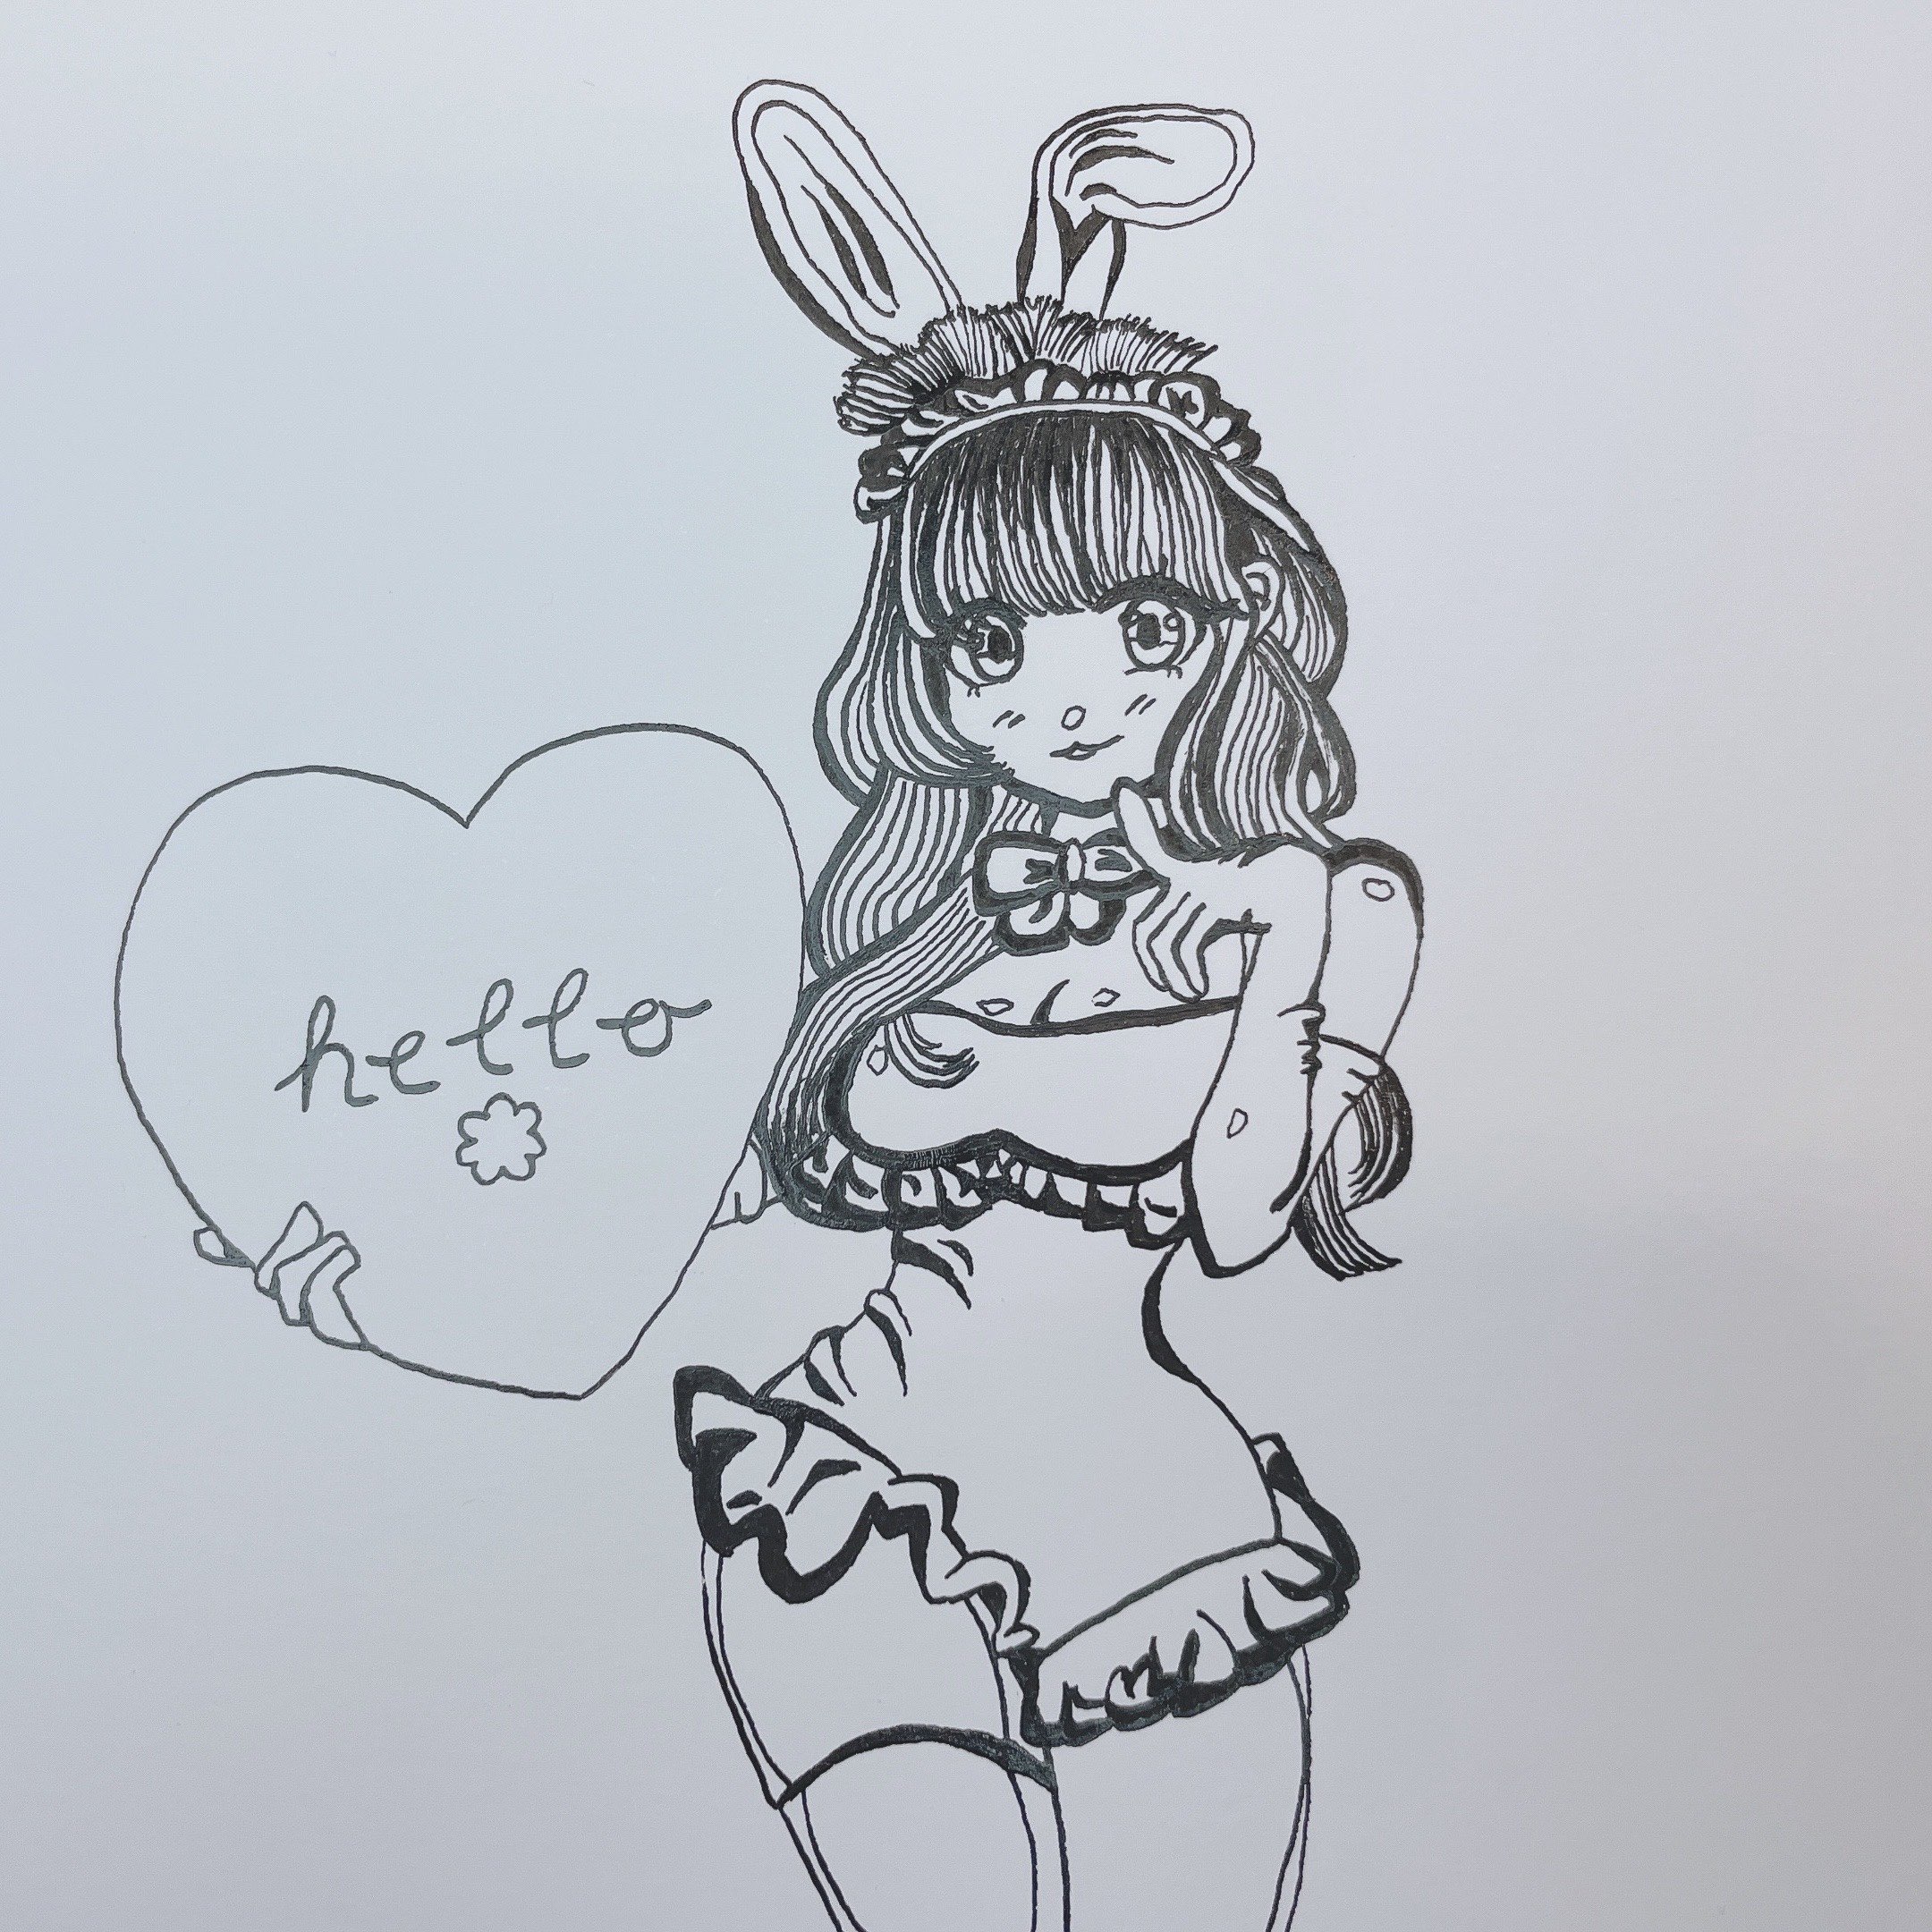
It's not "perfect," but that's not the point! This is the end result for the lineart that I was finally satisfied enough to move on with.
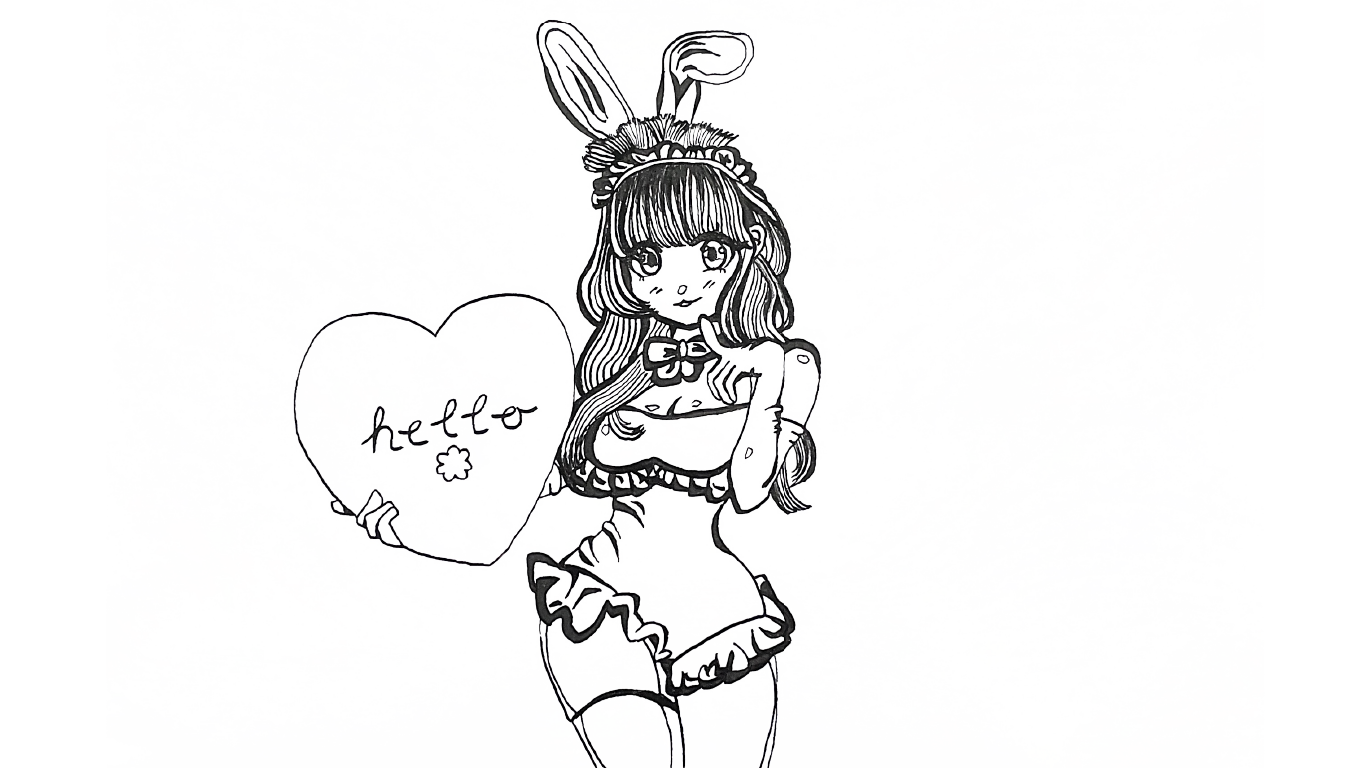
To be able to color digitally, I scanned the lineart I had drawn using Google Drive via my phone. Then, to make the "paper" transparent, I edited the scanned image with Photoshop. (I have a tutorial about how to do this here.)

Finally, here is the finished illustration, complete with color! I experimented using gradient effects and bright pastel tones.
.png)
.png)